January 24, 2017
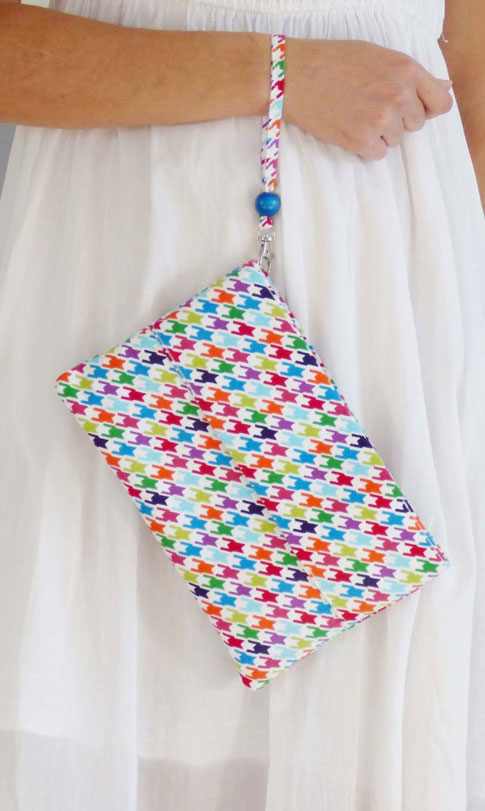
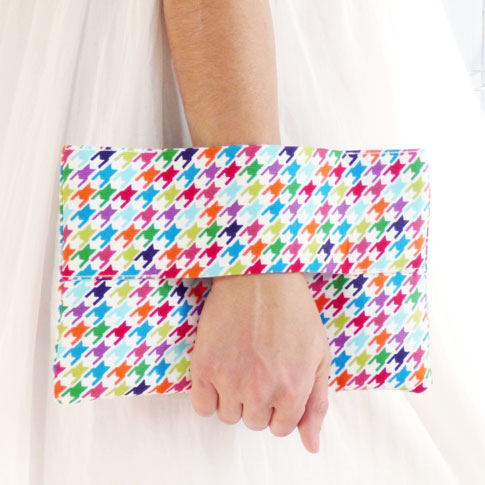
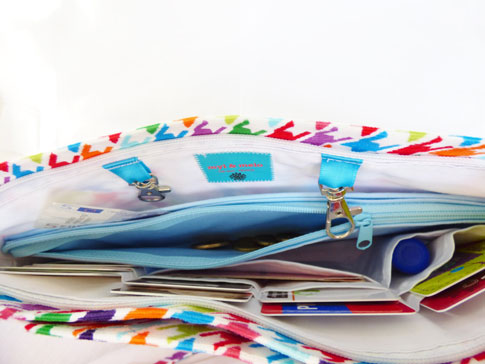
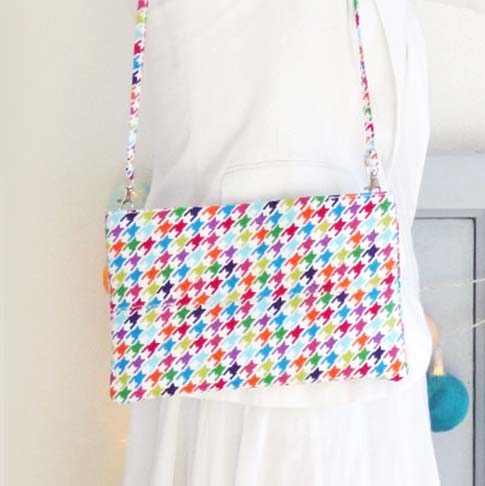
Whenever I go to a concert or festival, I always try to carry a clutch or something small instead of my regular purse. And this bag by Myl & Melo would be perfect! This bag is featured in my multi colored houndstooth cord. The strap is adjustable to fit around your shoulders, wrist strap or with a hand loop. The inside has different compartments for all your necessities. See more here.
(photos via Myl & Melo)
posted by kelle at 8:01 am
January 17, 2017

I’m HUGE stationery fan. I made a few journal with my own artwork and thought I’d share them with you as well;) Find links to the artwork below. You can have them professionally bound or below are some ideas on binding them yourself.

Here are a few ways you could bind your notebook cover:
DIY Customizable Notebooks
Free Printable Boss Lady Notebook Cover by Studio DIY
DIY Notebook: Perfect Binding
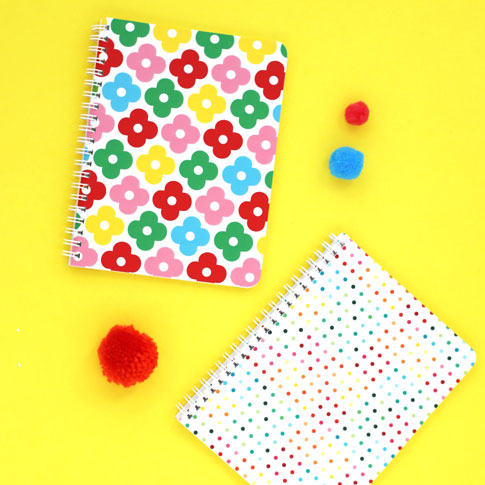
Download the printable covers:
Ann Kelle Flowers Journal/Notebook Cover (for personal use only!)
Ann Kelle Dots Journal / Notebook Cover (for personal use only!)
(photos by Kelle)
posted by kelle at 7:01 am
January 10, 2017

There’s so many things you can do with fabric panels. You could make quilts, pillows, wall art, tote bags, etc. Today I’m sharing with you how to use the panels to make a toddler sweatshirt. To provide a reference on the sizing, the sweatshirts we used are a 2T. For bigger shirt sizes, you could add more than one animal or the entire animal shape. Jump below for the super easy tutorial.
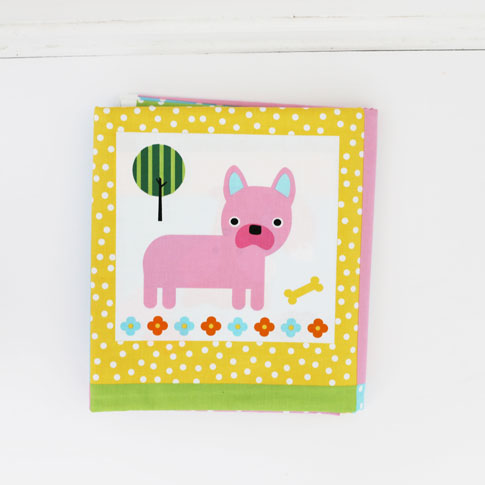
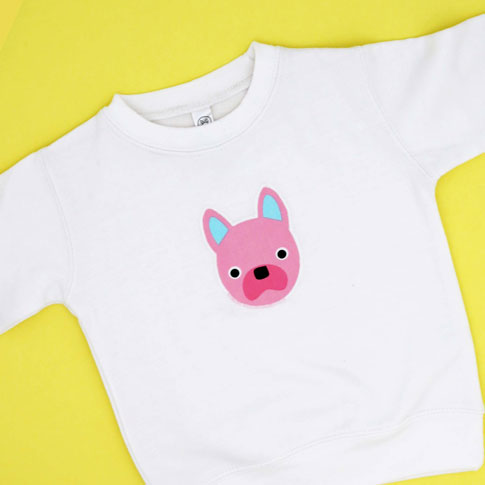

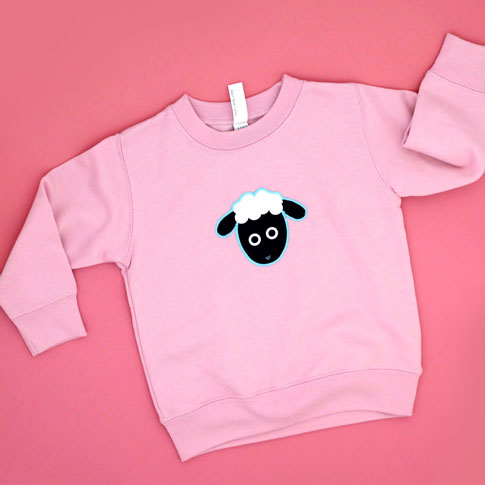
The sweatshirt applique is so simple. Here’s what we did:
1. Using a piece of Heat-n-Bond Lite cut slightly larger than the animal head, fuse it to the wrong side of the fabric panel centered over the animal head.
2. Cut out the animal head leaving a 1/8″ seam allowance all around it.
3. Remove the paper backing from the Heat-n-Bond Lite and fuse it to the sweatshirt.
4. Using a zig zag stitch with a width of 2.5 and a length of almost 0, stitch over the seam allowance covering the raw edges of the fabric on the animal face.
(photos by Kelle)
posted by kelle at 8:01 am
January 03, 2017

Find the free panda pouch tutorial below.


We used my Urban Zoologie mini fabric for the interior.


(more…)
posted by kelle at 7:01 am
December 22, 2016

(artwork by Ann Kelle)
posted by kelle at 8:12 am
December 15, 2016


Download Green Christmas Trees HERE
Download Green Christmas Trees HERE
(artwork by Ann Kelle / Copyright 2016 / for personal use only)
posted by kelle at 8:12 am
December 13, 2016

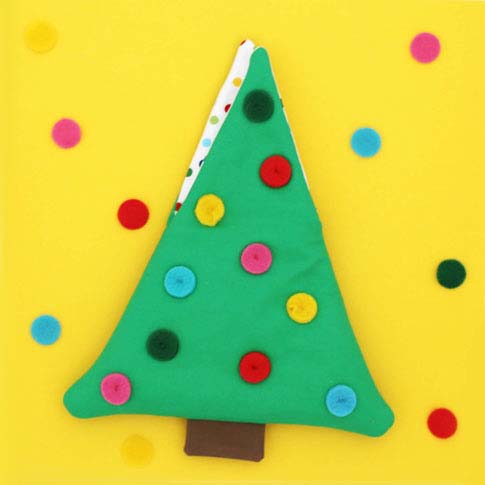
Christmas baking is one of my family’s tradition. Find the free tutorial below.


(more…)
posted by kelle at 7:12 am
December 08, 2016


I found these Christmas trees and Snowmen makeup bags made with my Jingle fabrics. These are so festive and fun!
(photos via Peanut and Koekie Shop)
posted by kelle at 8:12 am
December 06, 2016

We’re in full holiday mode over here! There’s so many awesome ideas for gift toppers. From pom poms to paper honeycomb toppers or even gumdrops, there’s a lot of great way to decorate your presents. Today I have a super easy DIY paper bow template to share with you. All you need is a printer, scissors, adhesive/stapler and card stock paper. Find the instructions below.

I had wrapping paper printed with my designs:)


Use patterned card stock or contrasting paper for additional uniqueness to you bow.


Bow Template Instructions:
1. Download bow template.
2. Load colored card stock into printer.
3. Print bow template and cutout.
4. To assemble the bow, start with the “body” of the bow. Bend the “right tab” to the center. (Do not fold. Just slightly bend.) Repeat for the left tab. Staple, tape or glue the tabs to the “center” of the bow. Tape the “bow center-strip” to the center of the bow. Add the bow tags to the back of the bow.
(photos by Kelle)
posted by kelle at 7:12 am
December 01, 2016

Enjoy these free coloring sheets I made of Christmas trees. Happy coloring!
Ann Kelle Christmas Trees Coloring Sheet (for personal use only!)
(photo by Kelle)
posted by kelle at 8:12 am
November 29, 2016

The Bohemian Babydoll Dress pattern by Elegance and Elephants is an easy-to sew e-pattern. You can have ruffled sleeves! We used a bright kona solid for the top and my Rainbow Remix “xxxx” print for the skirt. Find the pattern here, along with a ton of other gorgeous patterns.
(photo by Kelle)
posted by kelle at 7:11 am
November 25, 2016
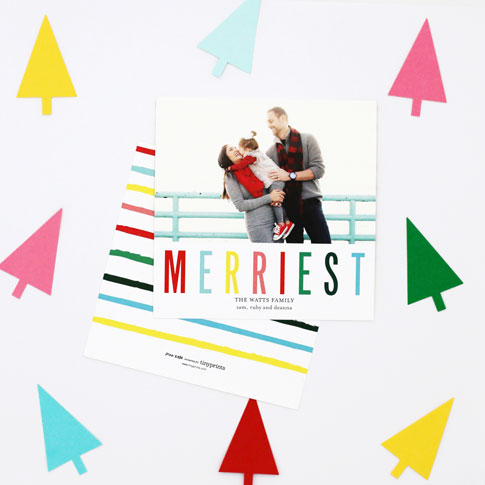
Tis the season for Christmas cards! Here’s a peak at some of the personalized Christmas cards I designed exclusively for Tiny Prints. And we thought of everything when it comes to sending out your Christmas cards. There’s address labels, envelope liners, a design on the back of the cards and all different sorts of photo size formats. Each card comes in several different color options. See the full Ann Kelle collection here. I also have Holiday Party Invitations which can be found here. Happy Holidays!
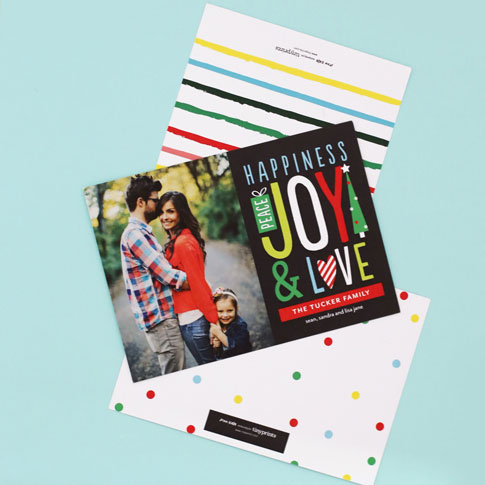
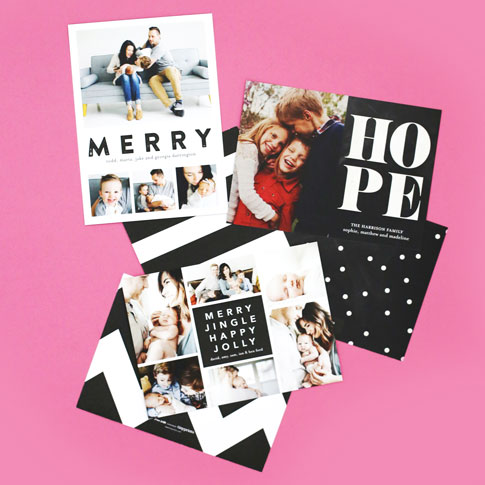
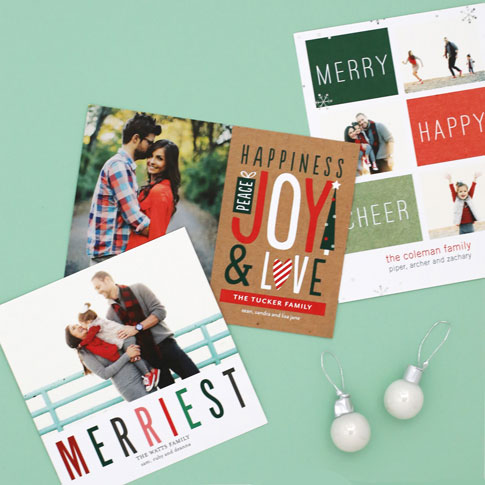
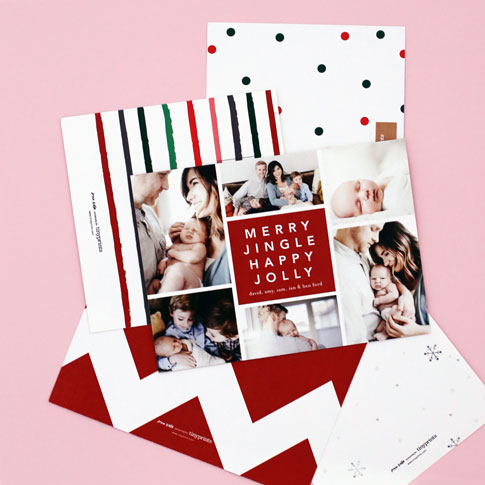
Shop all my holiday cards here. And you can shop Tiny Prints complete holiday card collection here.
(photos by Kelle)
posted by kelle at 8:11 am
November 22, 2016
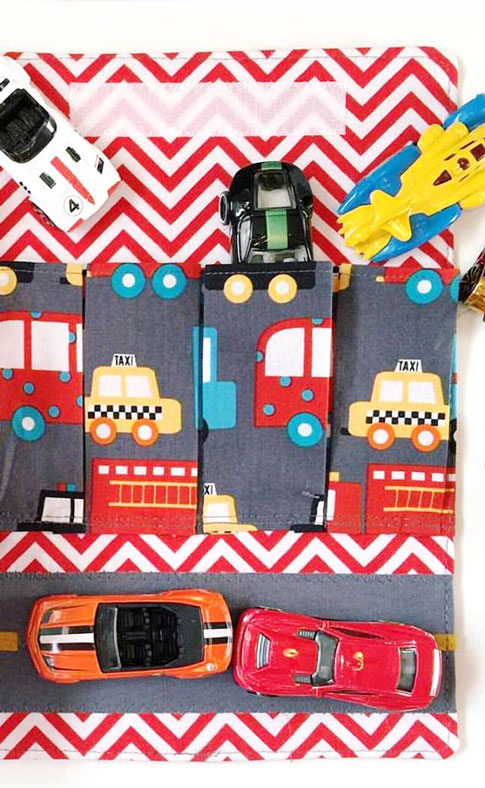
I featured a car wallet a few years ago. (It’s still one of my favorite fabric sightings!) I recently found this car wallet by Three Loves featuring my most recent Ready, Set, Go prints.
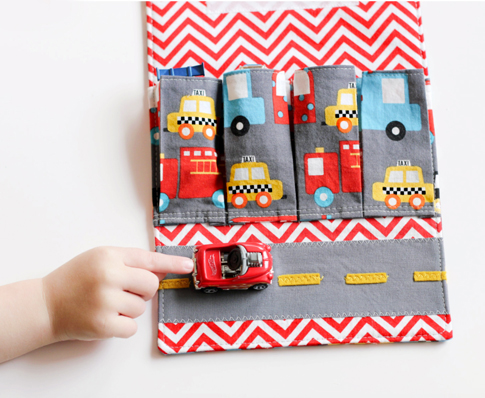
(photos via Three Loves)
posted by kelle at 7:11 am
November 17, 2016

Whenever it’s time for a baby gift, bibs are a great option. We mixed and matched my Slicker (laminated cotton) prints with Kona solids along the edge. Using the Slicker fabric on the front allows you to easily clean up messes. We used Shannon Fabrics’ Velour Terry for the backing. The velour terry fabric is ultra plush and makes the bibs so soft! Find the free tutorial here.


(photos by Kelle)
posted by kelle at 7:11 am
November 15, 2016

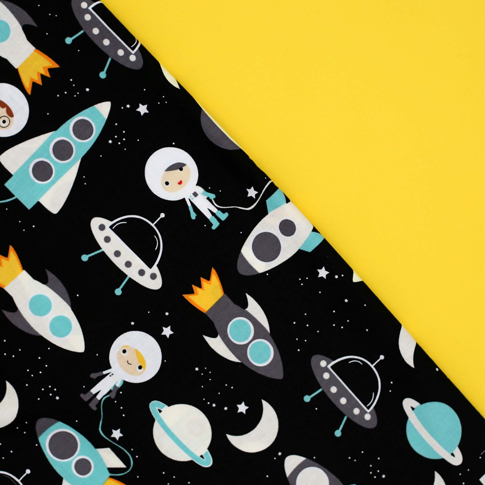
Today I’m happy to share with you my newest fabric collection, Space Explorers. There’s a total of 9 prints in the collection. This fabric collection ships to stores December 2016.




(photos by Kelle)
posted by kelle at 8:11 am
November 07, 2016

Fabric buntings are an easy way to add a punch of color and personality. You can use them as a cake topper, wall decor, party decoration, etc. The possibilities are endless! We came up with this super easy tutorial of mini fabric buntings. Have fun!

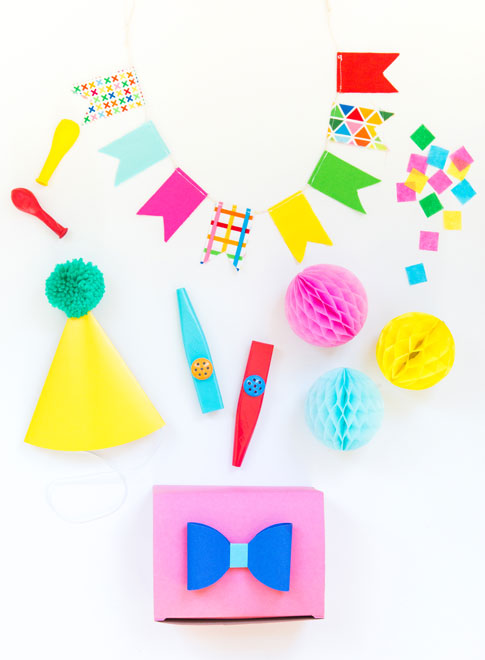


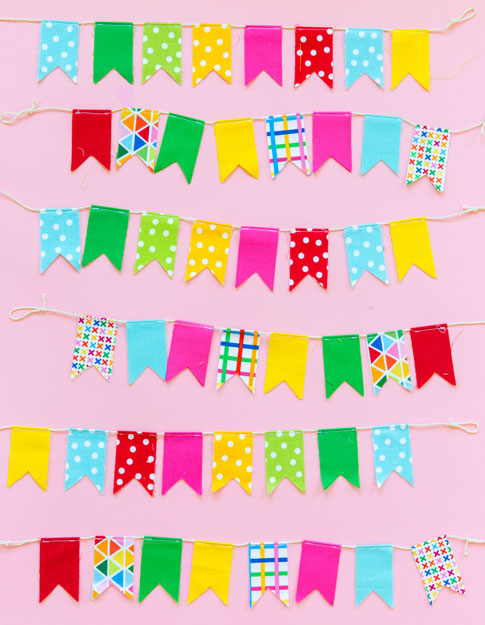

( photos 1, 3, 5 and 6 by Kathryn McCrary / all other photos by Kelle)
posted by kelle at 7:11 am
October 31, 2016
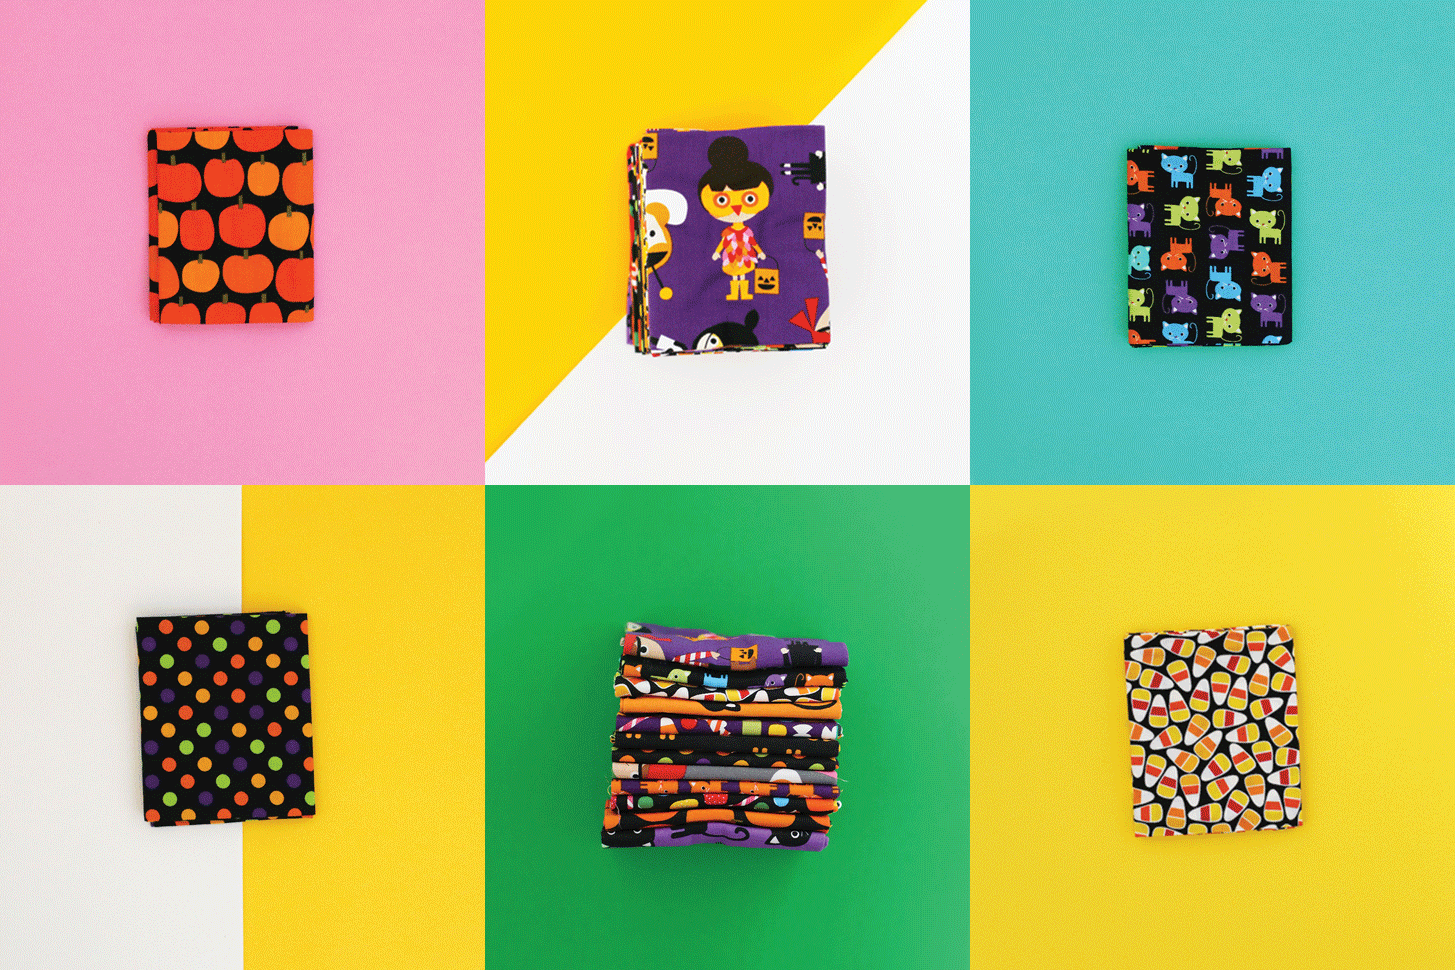
Enter for your chance to win a fat quarter bundle of my entire Pumpkin Fun collection. This fat quarter bundle includes 12 pieces for a total of 3 yards. Coordinates are also included. To enter, leave a comment. One random winner will be selected. Deadline to enter is November 7th at midnight. I hope your day is full of lots of sweets! UPDATE: This giveaway is now closed. Thank you for all your comments. A random winner was selected below in the comments.
(photos by Kelle)
posted by kelle at 7:10 am
October 25, 2016

These harem pants are legit! Did you get the MC Hammer reference?;) We made them out of my new knit fabric with a pop of color for the waistband and ankles, using this pattern. They’re great for your little one that’s on the move, with plenty of room for their diaper.

And let’s talk about this adorable toddler tee by Cheerily. It was the perfect addition to the harem pants.


(stripe beanie by Snug as a Bug Clothes / hug life toddler tee by Cheerily/ linen pixie toy camera by Twig & Co / photos by Kelle )
posted by kelle at 8:10 am
October 18, 2016

I found this ADORABLE kitty purse sewing tutorial by Choly Knight. We sewed one up and it’s so, so cute! We made a couple changes to our purse (the whiskers and we added a nose). And of course, my Urban Zoologie kitties were used for the lining. We also used Shannon Fabric’s black faux suede for the exterior. It made the bag look and feel so luxe. One of the things I like about this purse (besides it being so cute) is the size. This purse can carry a lot of goods, which is always a good thing. Find the free tutorial here. Below you’ll also find our personal tweaks and sewing notes to accompany the tutorial.


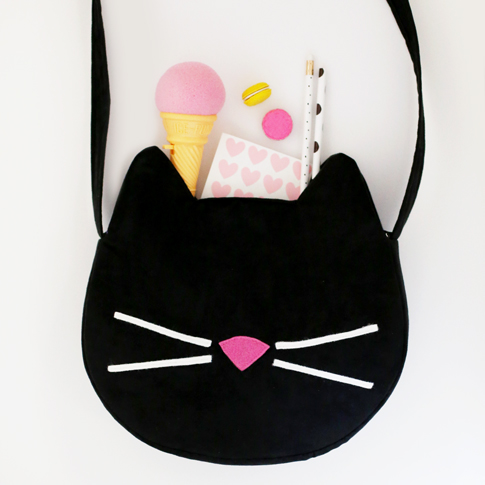
Our sewing notes: For this purse, we used the Kitty Purse Sewing Tutorial by Choly Knight. We used Pellon Flex Foam sew in stabilizer on the faux suede exterior and Pellon shape flex sf101 on the lining fabrics. We basted the flex foam just slightly inside the seam allowance then trimmed the foam within the seam allowance as close to the seam without cutting it. (This reduces bulk in the seam). We also used Shape Flex interfacing in the strap. We used a larger needle 90/14 for sewing through the suede and flex foam and a slightly larger stitch length (2.5-3.0). We added a magnetic snap instead of the sewn in snap. The nose and whiskers are craft felt that is stitched into the exterior panel.
(photos by Kelle)
posted by kelle at 8:10 am
October 13, 2016

I guess you can say “candy” is on my mind. So far, I’ve been able to resist eating. Today I have a free printable coloring sheet to share with you. Have fun!
Ann Kelle Printable Coloring Sheet (For personal use only!)
(photo by Kelle)
posted by kelle at 8:10 am
October 11, 2016
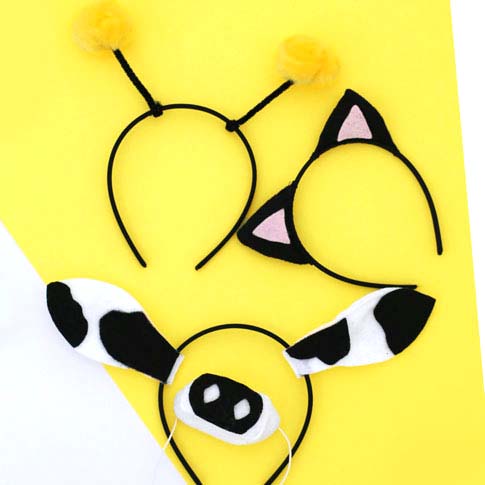
I think my love of costumes originated from my Mom. When I was a child, my Mom would make the BEST costumes for us kids. Using creativity and things around the house, she would always come up with the most unique costumes. And the costumes weren’t just for the kids, my Mom and Aunts (Mom’s sisters) would also wear costumes they made. We decided to make simple, diy costumes based on the kids in my Pumpkin Fun fabrics. These are super easy with loads of cuteness. Find the directions on how we made these below.


(more…)
posted by kelle at 8:10 am
October 06, 2016

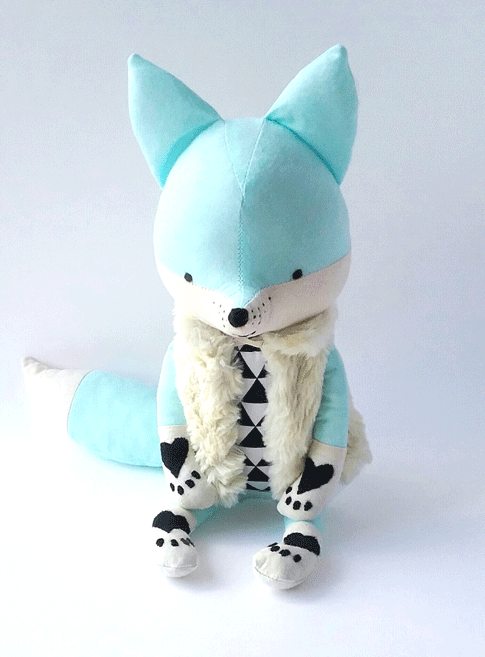
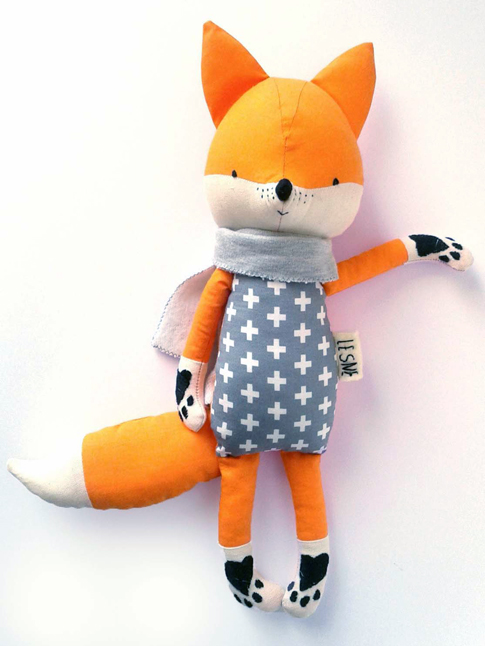
Get ready for some cuteness! These adorable woodland foxes are by, Lesne. They features some of my favorite Remix fabric prints. And check out those little heart shaped paws. So cute!
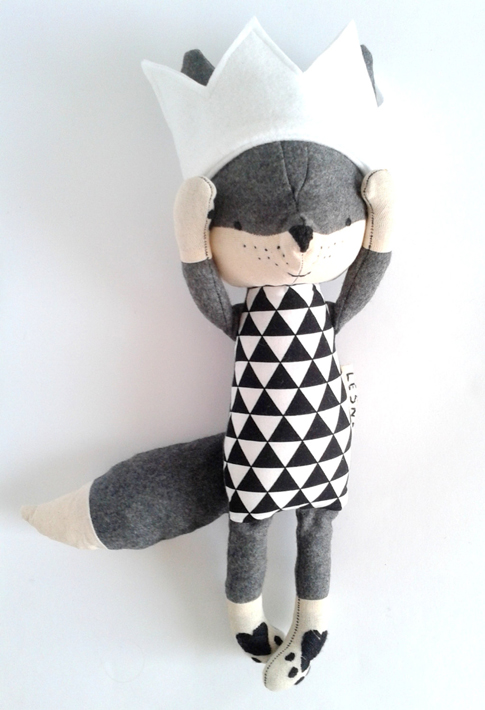
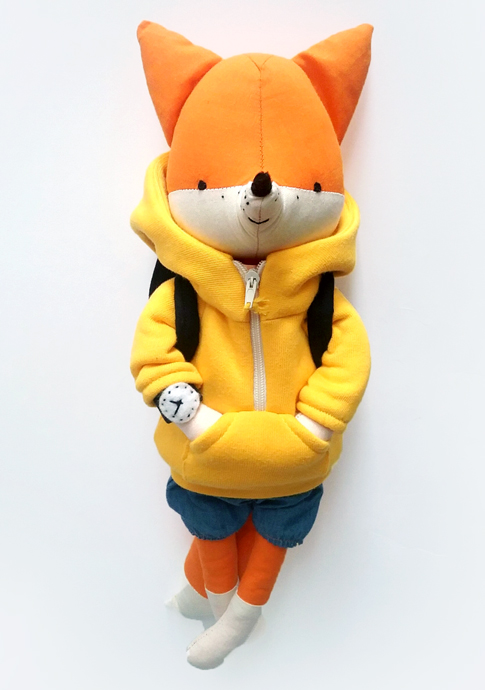
(photos via Lesne)
posted by kelle at 8:10 am
October 04, 2016

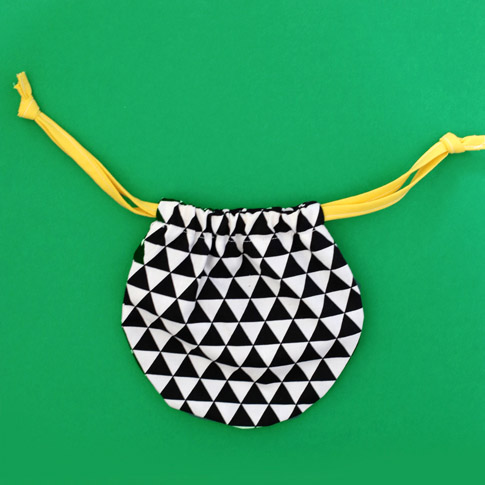
Happy October! My Pumpkin Fun collection is now in stores and ready for all your October sewing projects. Today I’ve gathered three bag sewing tutorials for you.
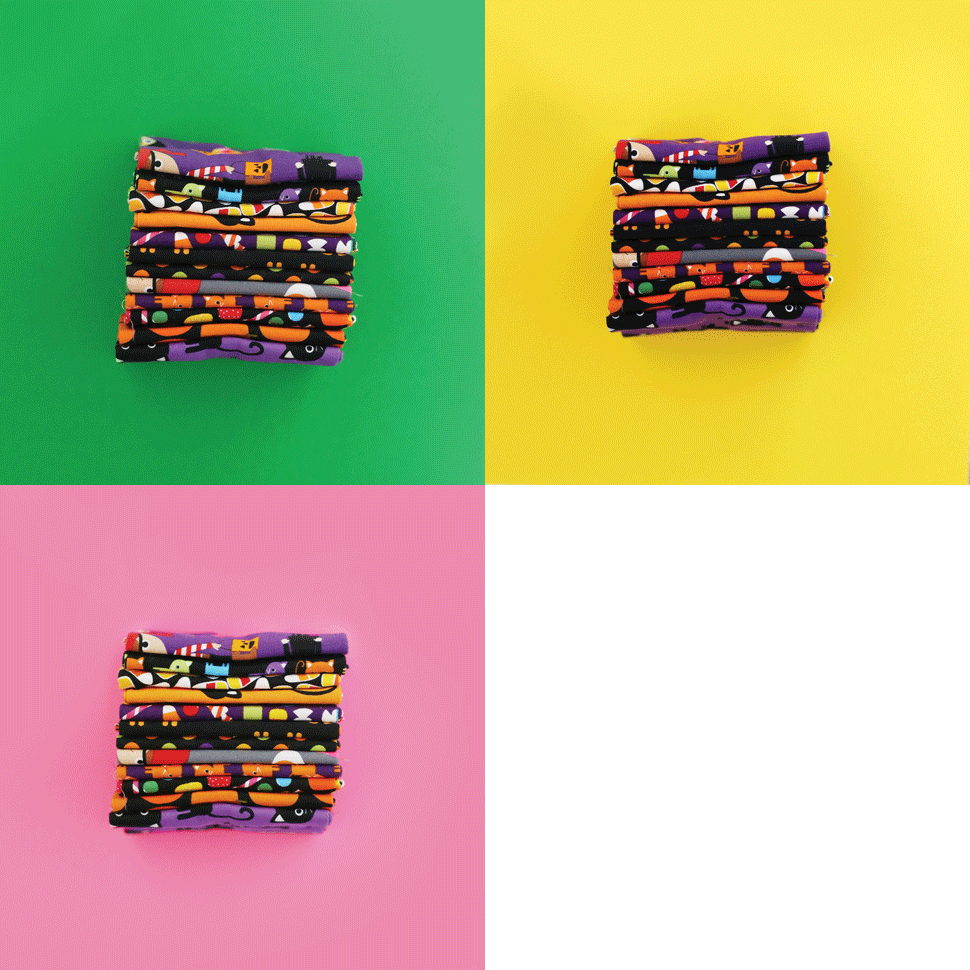

My Pumpkin Fun collection is all about pumpkins, candy and costumes. We used this fabric collection, as well as my Remix fabric for the bags. There’s a fat quarter bundle that includes the Pumpkin Fun prints, Urban Zoologie cats and coordinating fabrics.
 1. Goody Sack Pattern: This bag is huge! And that’s a good thing for candy collecting. This bag can easily be folded and stored when not in use, which is an additional bonus. We used coordinating fabrics for the inside.


2. Candy Corn Tote: Next up, we have this ridiculously cute candy corn tote by Positively Splendid. When I saw this tutorial, I knew it would be perfect for my candy corn fabric. Positively Splendid personalized her tote, which is really cute.


3. Mini Pumpkin Pouch. Finally, we have a smaller bag. These would be great for kids passing out treats in their classroom. Find the free tutorial here.




(photos by Kelle)
posted by kelle at 8:10 am
September 27, 2016

To make these little pouches, find the free tutorial here.


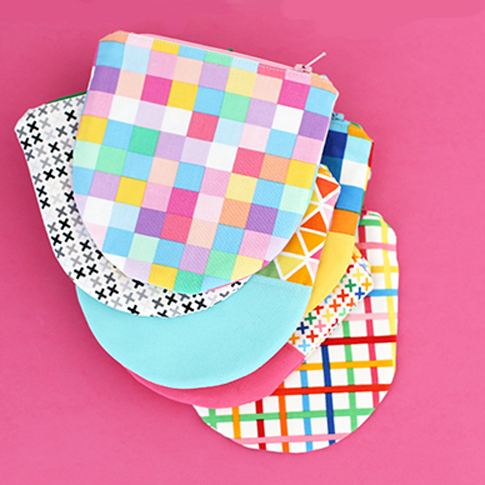
(photos 1 and 3 by Kathryn McCrary / all other photos by Kelle)
posted by kelle at 8:09 am


