DIY pom pom pillow
April 16, 2012Hello again! It’s Morgan is here from Sweet Stitches. I am here again to share with you this super fun pillow. Trimmed with pom poms and made with bright, happy fabric, this pillow is sure to make you giddy just looking at it!
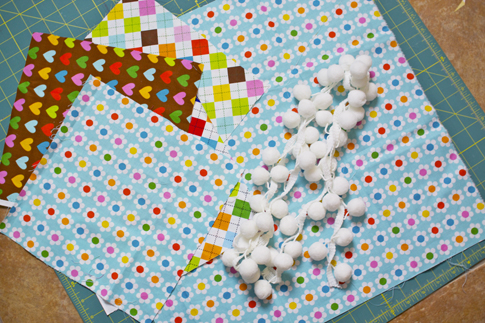
Gather your supplies:
– 2.5 yards pom pom tassel
– fabric of your choice
– 18″ pillow form
– straight pins, marking pen, needle and thread, scissors, sewing machine
Step 1:
Cut your fabric. Cut the back panel to 19″ x 19″ and 4 front pieces to 10″ x 10″ each.
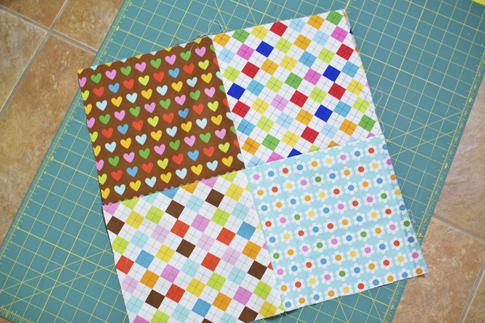
For the front, place two 10″ x 10″ pieces on top of each other right sides together and sew a 1/2″ seam down one side. (If your print is a directional print, make sure you pay attention to which way your fabric is facing, so it will be correct once the pillow is finished) Do the same to the other two 10″ x 10″ pieces. Iron the seams open.
Now you have 2 front pieces. Place one on top of the other (right sides together) and sew a 1/2″ seam down one side. Again, make sure your fabric is facing the right direction. Iron the seams open. You now have one ‘front’ piece’. Set aside.
Step 2:
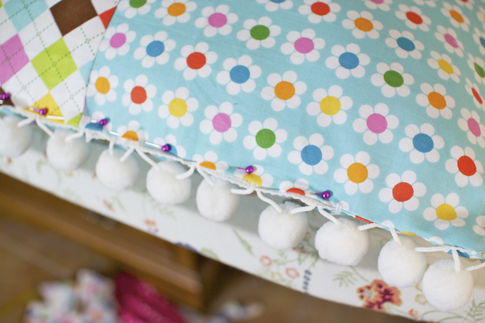
Take your pom pom tassel and pin it around all 4 sides of the back panel. Make sure you pin it with the pom poms facing in. Sew or baste the tassel in place using a 1/4″ seam allowance, making sure to back stitch at each end. I like to do this so when you sew the two panels together, you don’t have to worry too much about the tassel moving around.
Step 3:
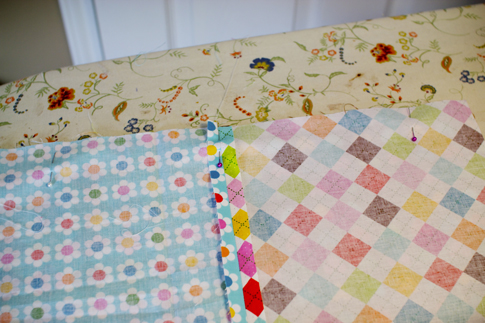
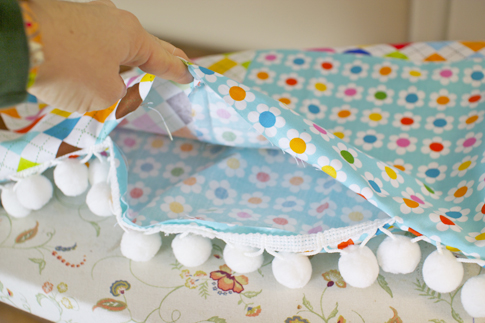
Once your tassel is in place, you are almost done! Lay the front patchwork panel on top of the back panel (right sides together) matching up all 4 sides. Pin in place leaving about a 6″-7″ opening at the bottom of the pillowcase for flipping and stuffing. Sew all around (except for the opening) with a 1/2″ seam allowance, making sure to backstitch at each end.
Step 4:
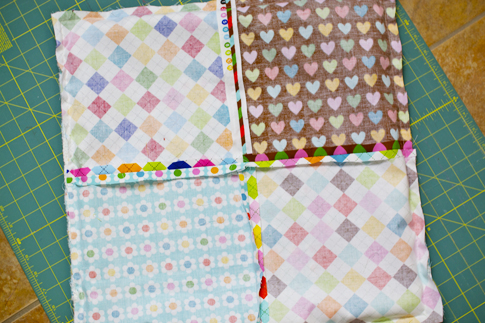
Once your panels are sewn together, trim all 4 corners making sure not to cut the stitching. Flip the pillow right side out and poke out the corners with something pointy, like a turning tool. I use a knitting needle, works great! Stuff your pillow form through the opening.
Step 5:
Fold in the opening and pin closed. Using a needle and thread, sew the opening closed.
I hope you enjoyed this tutorial! It was so fun to make, I can’t wait to see this pillow on my daughter’s big girl bed! — Morgan
(photos from Sweet Stitches)






This is so cute and fun for spring! I must make one! Thanks for sharing.
So cute…
i seriously need to get a stash of pom poms going!